Manually updating contact records, opening new case requests, or informing users of their application status can be a headache for your customer support team to manage. If these processes are wasting your team’s time or frustrating customers, you’ll benefit from creating a self-service workflow dashboard.
A workflow dashboard allows customers, volunteers, applicants, students, donors, or staff to access all the information they need in one central location, without having to bother customer support for updates or changes. Using FormAssembly, you can build a dashboard workflow without needing to write complex formulas or custom code.
Workflow dashboard tips and tricks
A workflow dashboard takes time to set up, configure, and connect. These tips and tricks from our form-building experts will help streamline the process, so you don’t have to go back and change things later.
- Tip #1: Plan your workflow steps and conditionals first. The more comprehensive you can make your plan at the beginning, the easier it will be to build your workflow later.
- Tip #2: Determine the forms you need first and build as you go. You’ll likely need several different forms for different steps of your dashboard workflow.
- Tip #3: Save your workflow frequently! Get in the habit of saving your updates and changes as soon as you make them, so you don’t lose any progress.
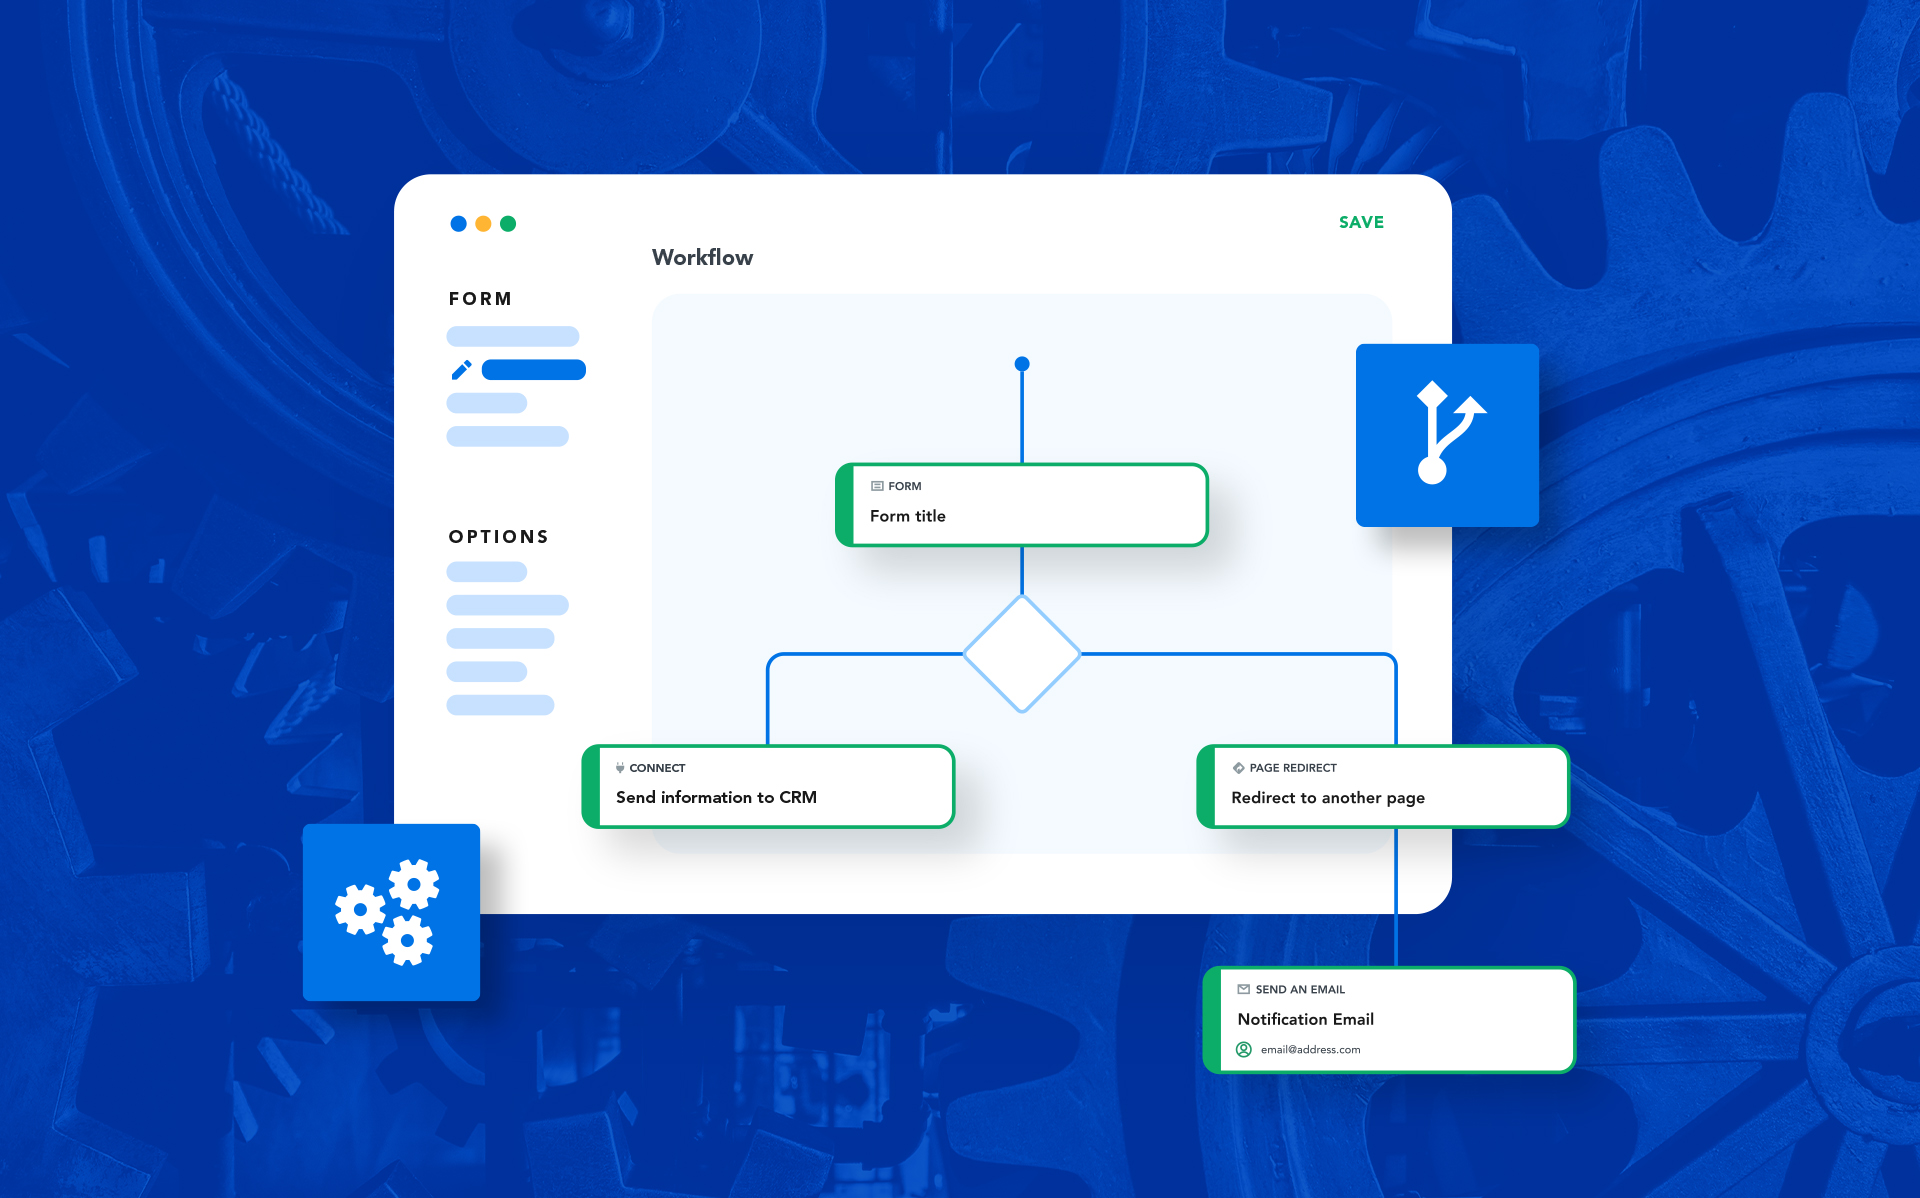
How to build a no-code workflow dashboard
A workflow dashboard should consider self-service architecture to give users autonomy over data, like updating contact information, submitting a support ticket, completing a new application, viewing requests, or seeing their purchase history.
This saves time and frustration for both the individual user and the team analyzing the data. A well-designed workflow dashboard helps improve transparency and communication between users and the organization, which can increase trust and satisfaction.
To follow along with this tutorial, you’ll need to have a FormAssembly Team plan or higher and have configured the Salesforce Submit and Prefill connectors. If you do not currently have a FormAssembly account, contact our sales team to start a 14-day free trial.
Step 1: Create a new workflow
Login to your FormAssembly account and create a new Blank Workflow.
Step 2: Create a landing page
To begin your workflow, start by creating a landing page where users can enter their unique information. When users input their information into the Email and Phone fields, their record will be located in Salesforce and their information will be pulled into the dashboard.
Step 3: Create the workflow dashboard
A self-service dashboard workflow is where a user will see their data and have the ability to take actions, such as updating their contact information. For this example, the dashboard allows users to open a new case, submit a new application, or view the statuses of both. Build your dashboard form to the use cases of your organization.
Step 4: Add a prefill connector to the dashboard workflow
To display information related to a user, you’ll need to prefill this data from their Salesforce record into their dashboard. To do this, add a prefill connector step and configure it to prefill data into the dashboard form you created in step 3.
→ Learn how to prefill related objects and records with the Salesforce Prefill Connector
Step 4a: Configure Lookup #1 for contact data
Map fields to look up a user’s first and last name, phone, email, and contact ID to prefill into the dashboard form.
Step 4b: Configure Lookup #2 for case records
Within lookup #1, add an object dependent on the user’s contact ID that will look up all cases related to the user (lookup #2). This lookup will pull case data directly from the user’s record into the dashboard form. Map all related fields and select “repeat fields,” so all related cases will be prefilled into the dashboard.
Step 4c: Configure Lookup #3 for application records
Follow the same process as in step 4b to add an object dependent on the user’s contact ID that will look up all applications related to the user (lookup #3).
Step 5: Complete the prefill connector configuration
Finalize the prefill connector configuration by filling in the workflow parameters on the landing page (email and phone).
Step 6: Set up conditional steps in your workflow
For the workflow dashboard in this tutorial, the workflow determines if a user is new or has an existing record. The workflow also provides conditional steps for existing users based on the actions they want to take.
Step 6a: New vs. existing users conditional step
First, set up a conditional rule for new versus existing users. If a user is new, you can set up a Salesforce connector to create a new record based on the contact information they submit.
Step 6b: User actions conditional paths
Next, set up a conditional step for existing users based on the following actions: updating contact information, adding a new case, and submitting a new application. Creating a 4th conditional step if no conditions are met will bring users back to the main dashboard to start over.
Step 7: Create forms for conditional paths within your workflow
You’ll need to build three forms and configure their Salesforce connectors that correspond to the conditional paths created in step 6a. Learn more about creating a form in the Form Builder and setting up the Salesforce Connector.
Step 7a: Set up the update contact form
Beneath the corresponding conditional path in the workflow, add the update contact form and import the Salesforce connector you have already configured for this form.
Next, add a page redirect step that goes to the main landing page of the workflow. You can easily do this by adding the workflow URL in the configuration section of the page redirect properties.
Step 7b: Set up the “New Case” form
Add the new case form and import the Salesforce connector as you did in step 7a. This time, set up a page redirect back to the dashboard form instead of the main landing page.
Step 7c: Set up the “New Application” form
Add the new application form and import the Salesforce connector as you did in step 7a. Set up a page redirect back to the dashboard form instead of the main landing page.
Step 7d: Set up “No Conditions Met” path
Set up the fourth conditional path to redirect back to the main dashboard if an issue or error occurs. You can provide a custom error message as well as a link that will take the user back to the main workflow.
Step 8: Set up form-to-form prefilling
Without form-to-form prefilling, the submit connectors for the new case form and the new application form will not work properly.
Set up prefill for the new case form within the form properties.
Set up prefill for the new application form within the form properties.
Step 9: Publish and test your workflow dashboard
Once your workflow is complete, you can publish it on a web page with iFrame publishing or use a direct URL link to the workflow. Be sure to test all the steps of your workflow to ensure ease of use, UX for autonomy, and functionality of step triggers (test out each option)!
Need help building your workflow dashboard?
Sometimes, it’s easier to have someone do it with you. Reach out to our award-winning support team to schedule a screen share or request a quote from implementation services to get it custom-built and tested by one of our experts.


