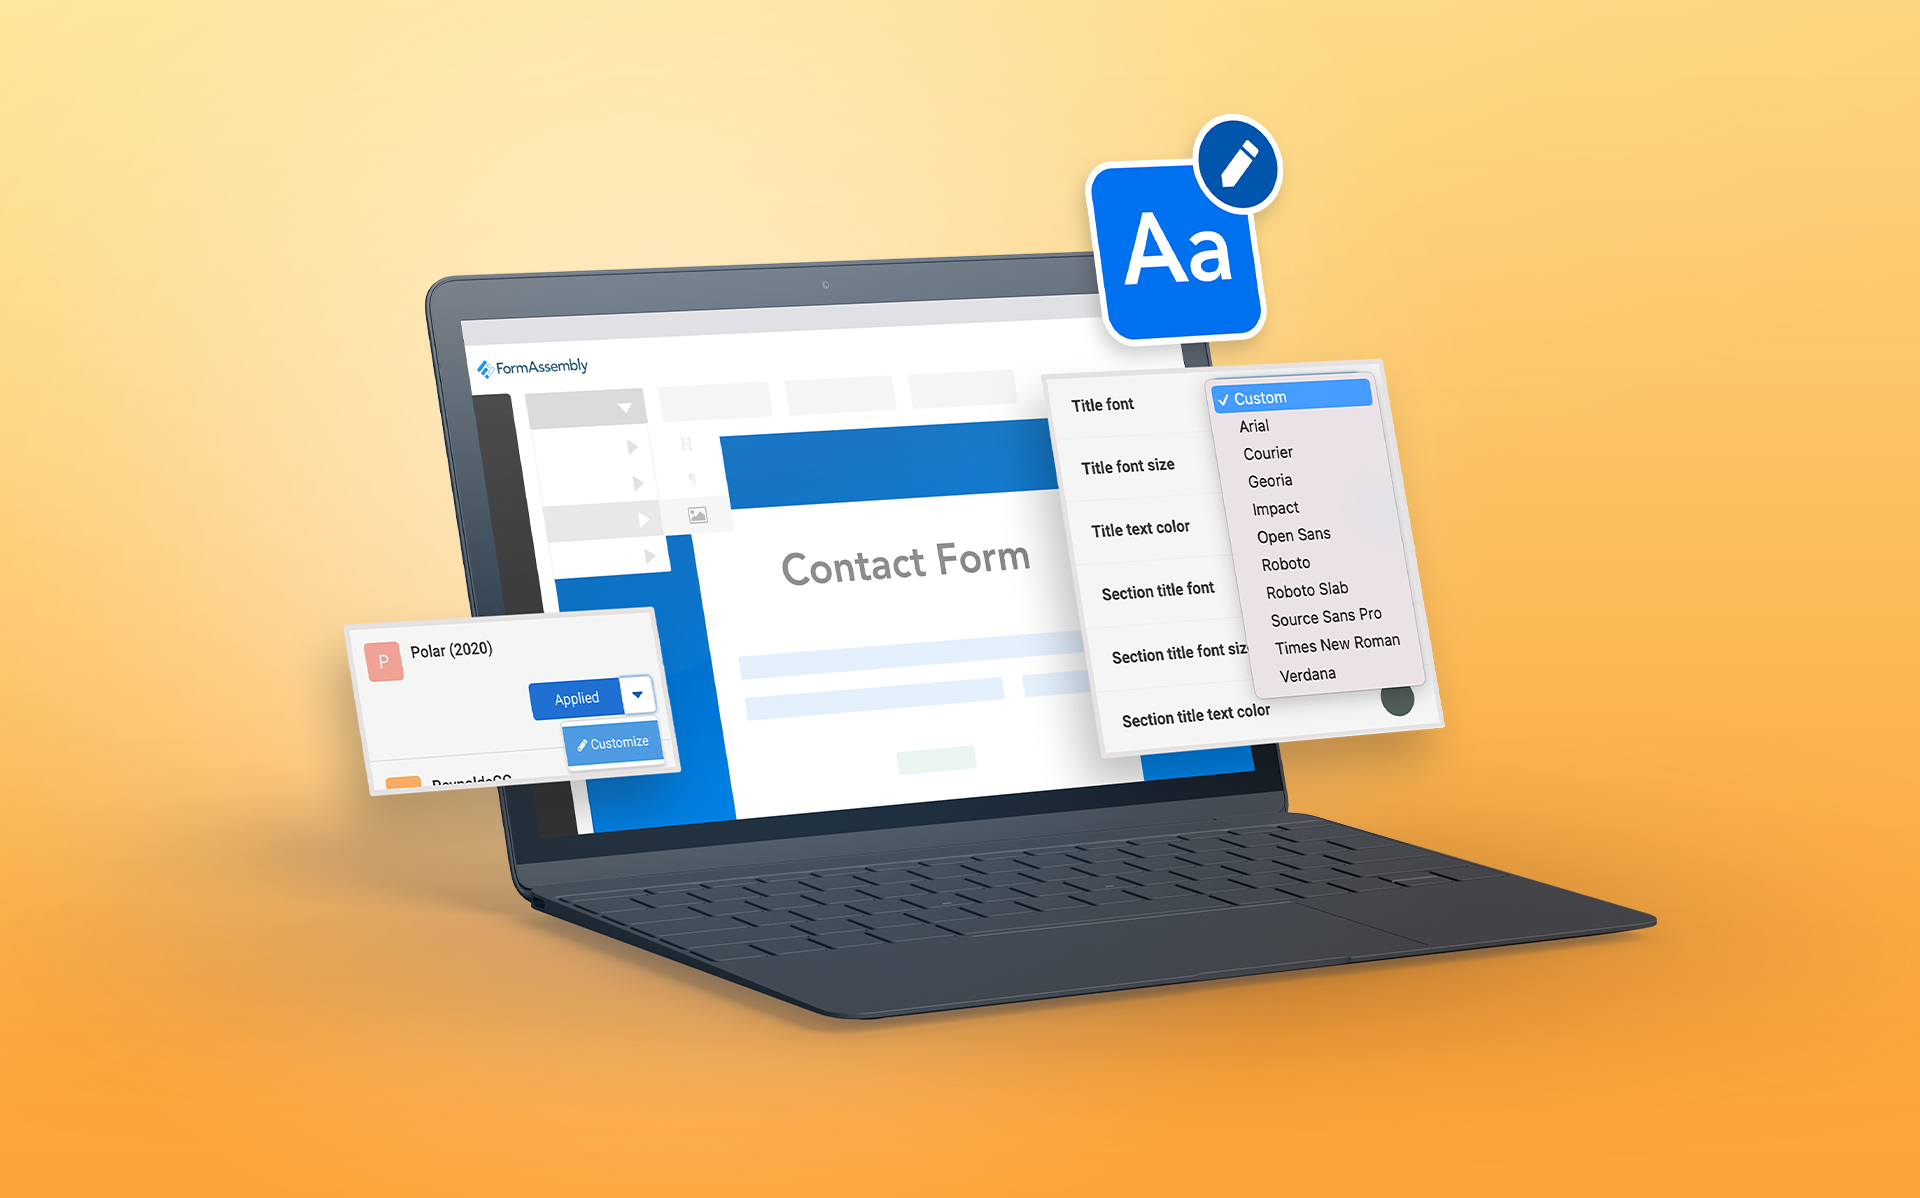
You can pick between 12 different preloaded fonts in our Theme Editor, but you’re not just confined to those options. If you want to use a specific font to achieve a unique look, you can easily do that using custom code.
Watch the video tutorial
→ Want to follow along with this tutorial? Test drive FormAssembly now.
1. Pick Your Font
There’s a wealth of webfonts out there. Some resources include Google Fonts and Adobe Edge Web Fonts, both of which offer options ranging from formal to whimsical to edgy.
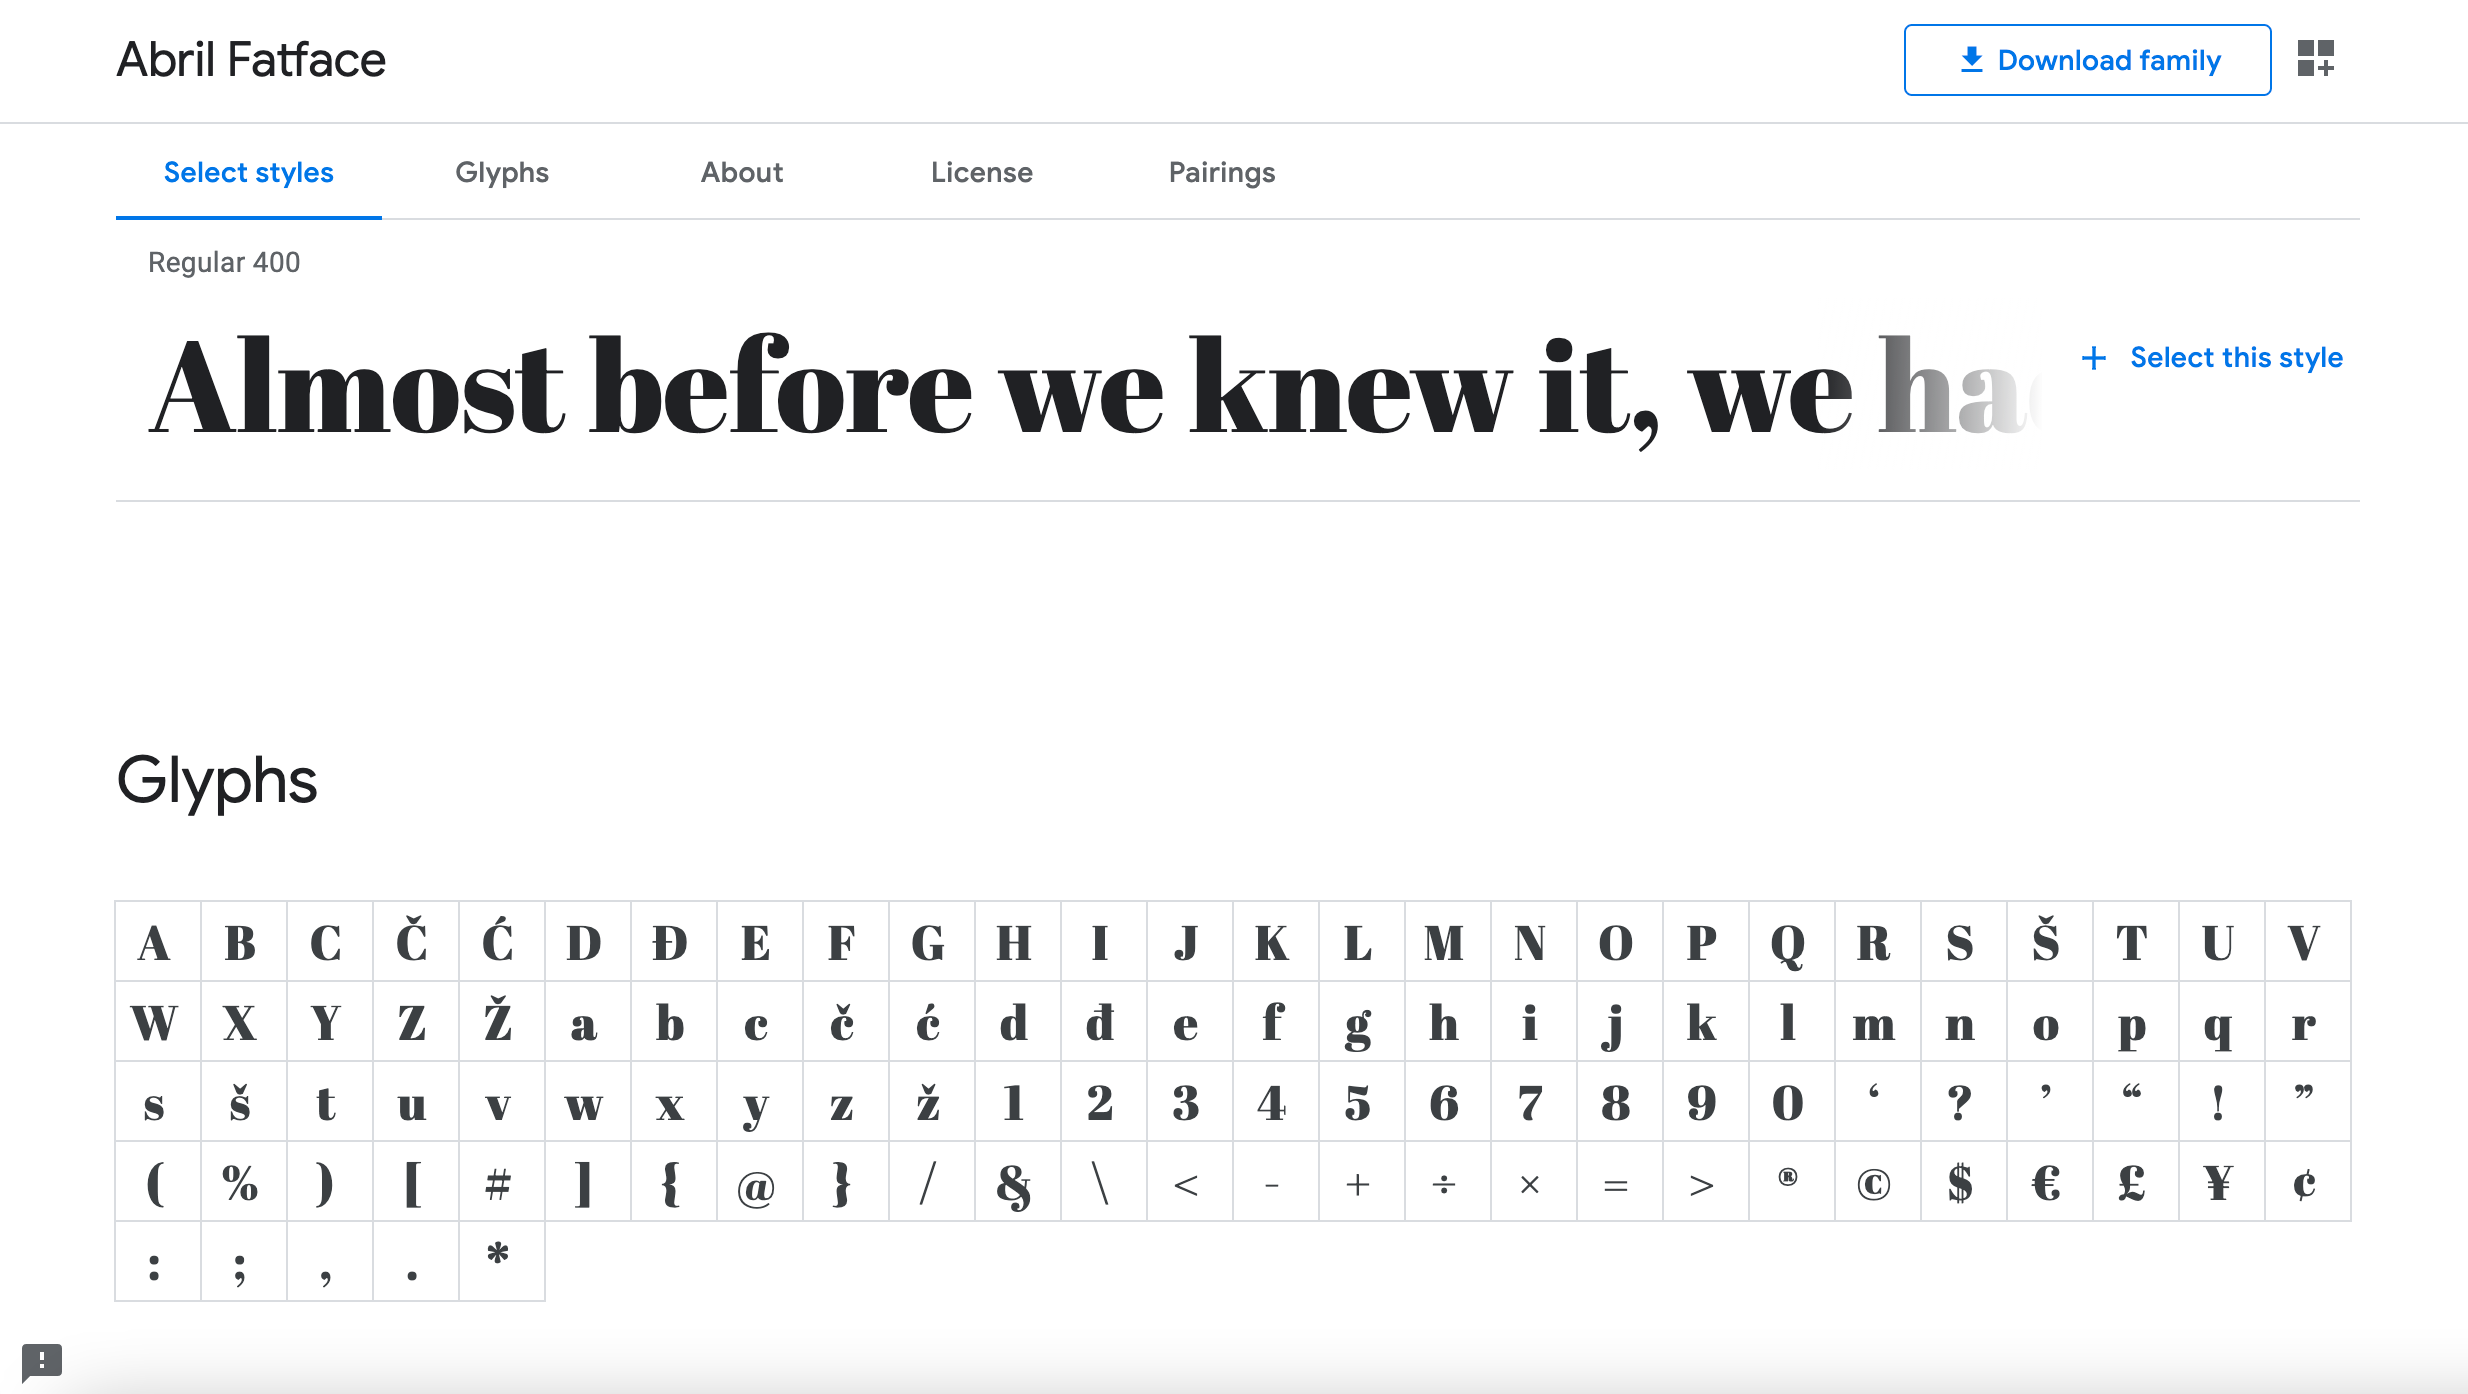
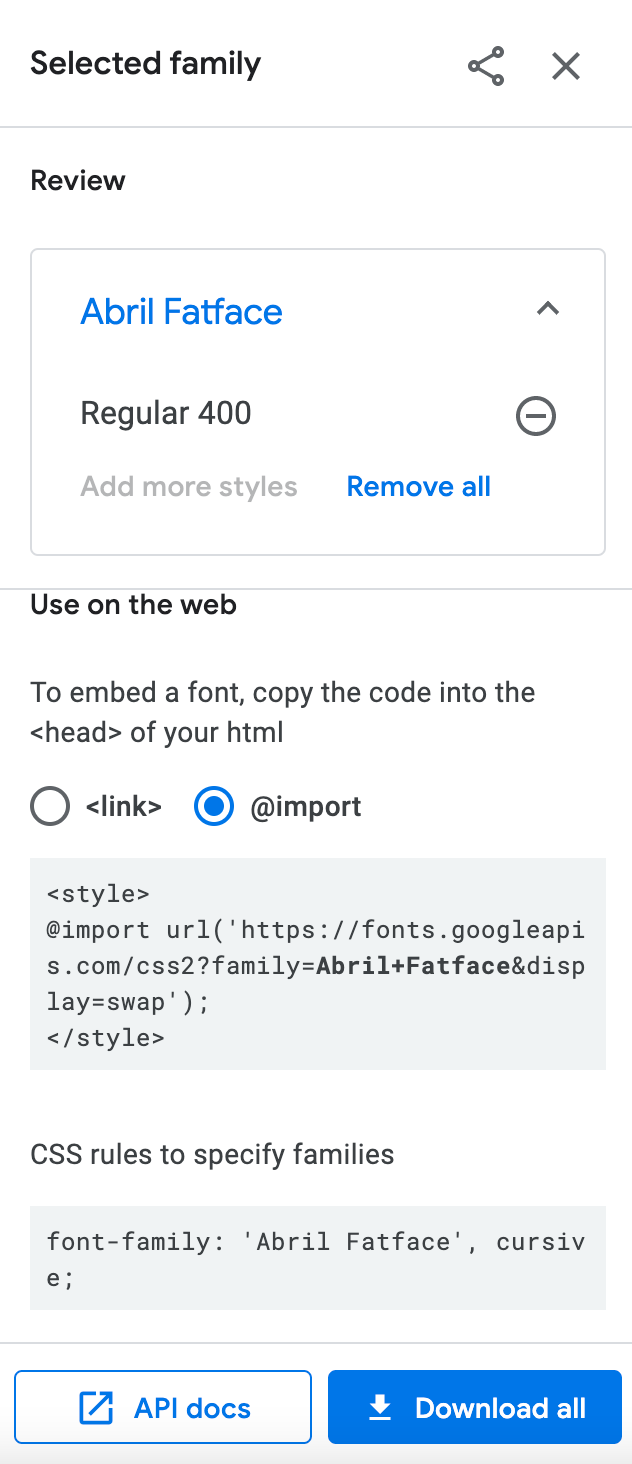
For this example we’re going to use Abril Fatface, available on Google Fonts.
2. Grab the @Import Code
Google Fonts makes it easy to grab a ready-to-use code to customize your forms. For these purposes, we’ll copy the @import code and make note of the CSS rules below to use later.
3. Add the Code to FormAssembly
Open your form in the Form Builder. For this example, we created a simple newsletter signup form. This form uses the Polar theme from the Theme Editor.
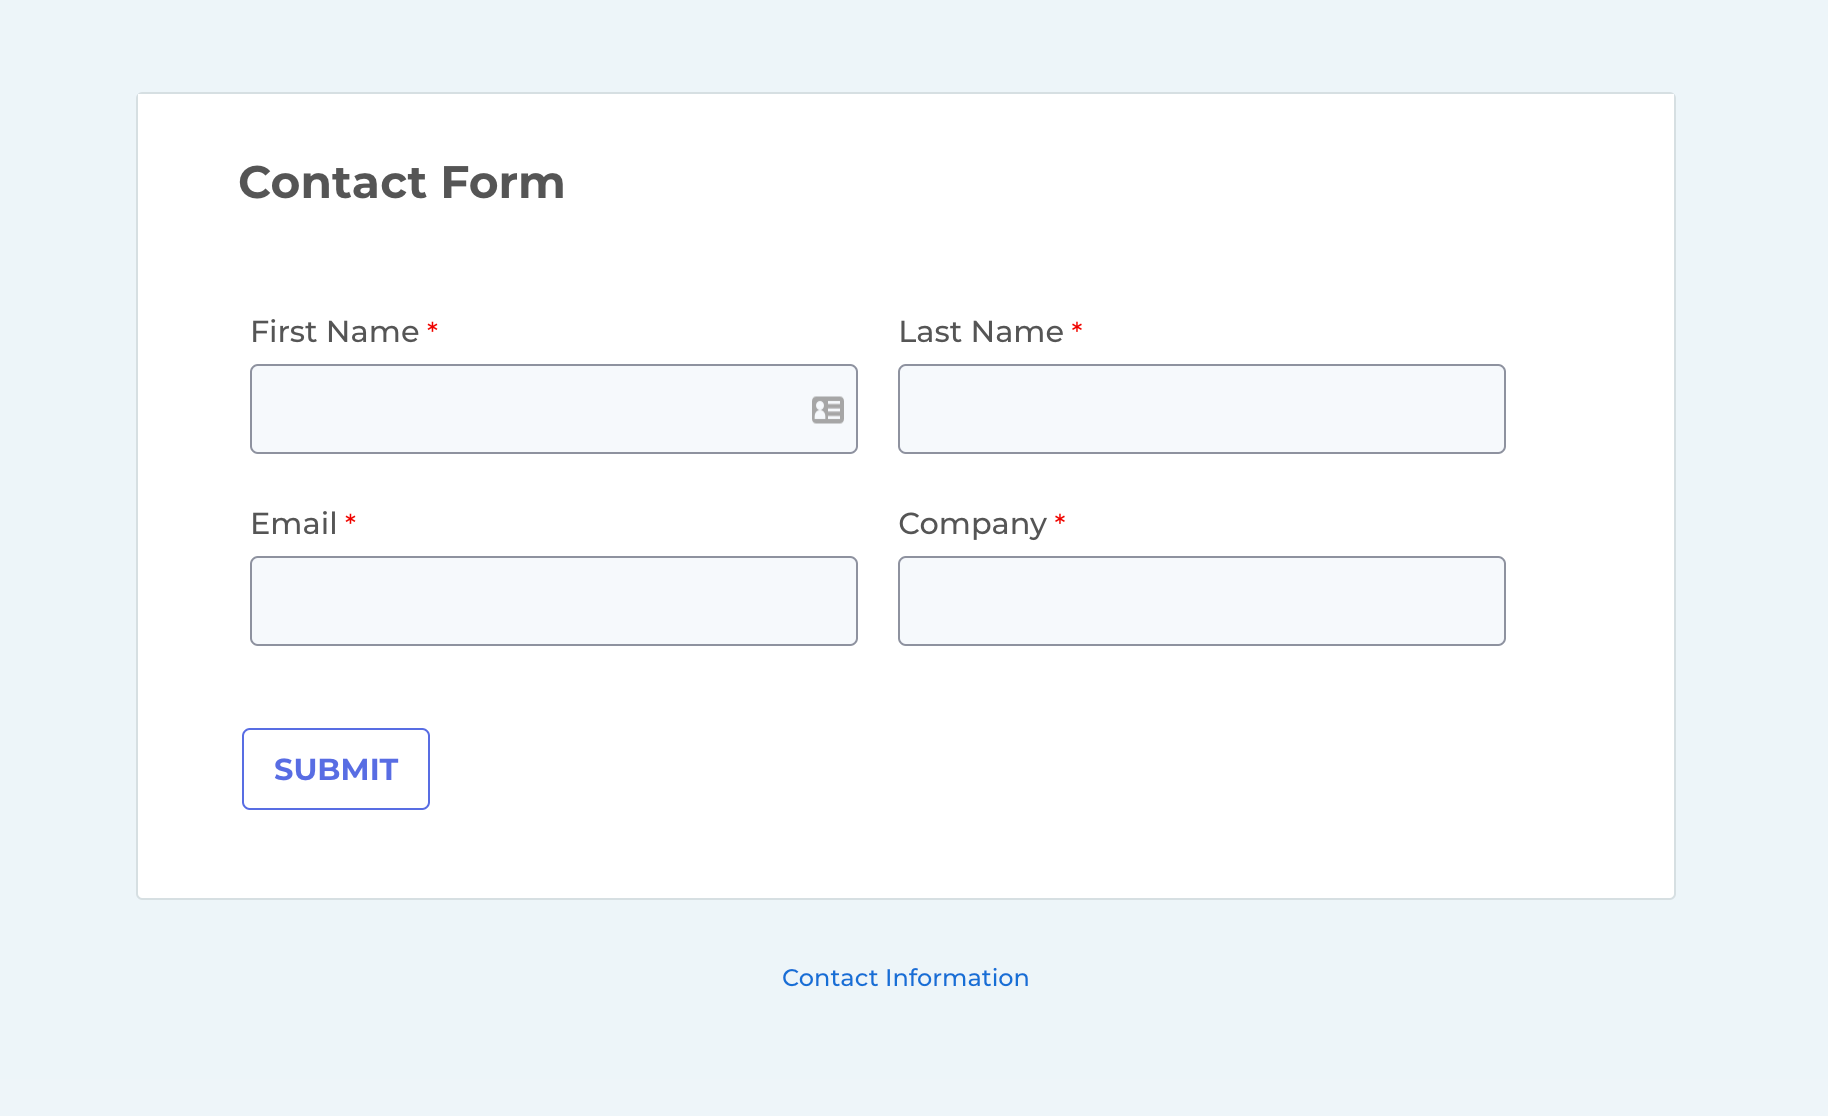
As is, the form is attractive but basic.
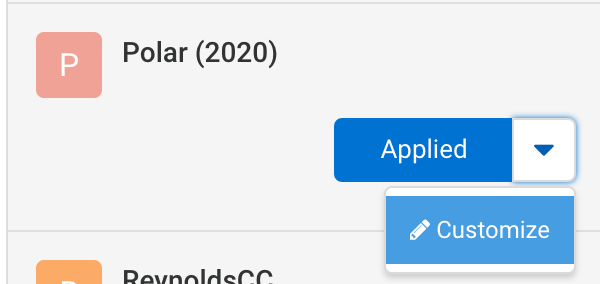
To change the title font of the form to Abril Fatface, go to Find the theme you used and click “Customize” to open a copy of the theme.
Next, add the import code you copied to the top of the Custom CSS section within your theme, minus the opening and closing <script> tags.
Here’s exactly what we copied and pasted:
@import url(‘https://fonts.googleapis.com/css2?family=Abril+Fatface&display=swap’);

Further down, you’re going to use the attributes provided by Google to specify that you want to use this font for the title of the form. We simply replaced “’Montserrat’, sans-serif;” next to “$font-title-font:” with “’Abril Fatface’, cursive;”, which we copied from the Google Font listing.
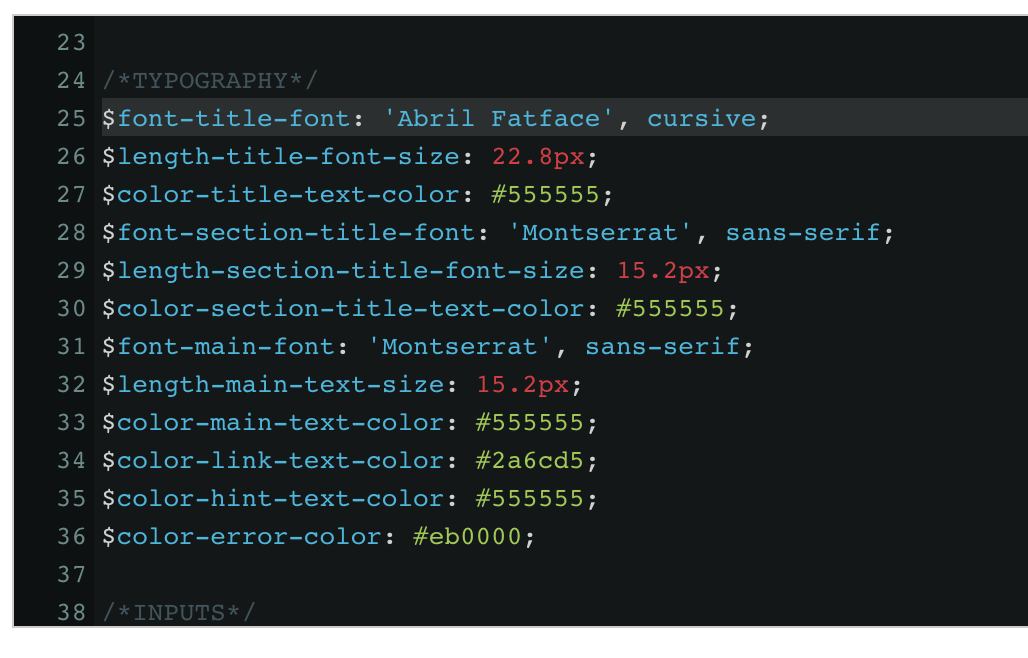
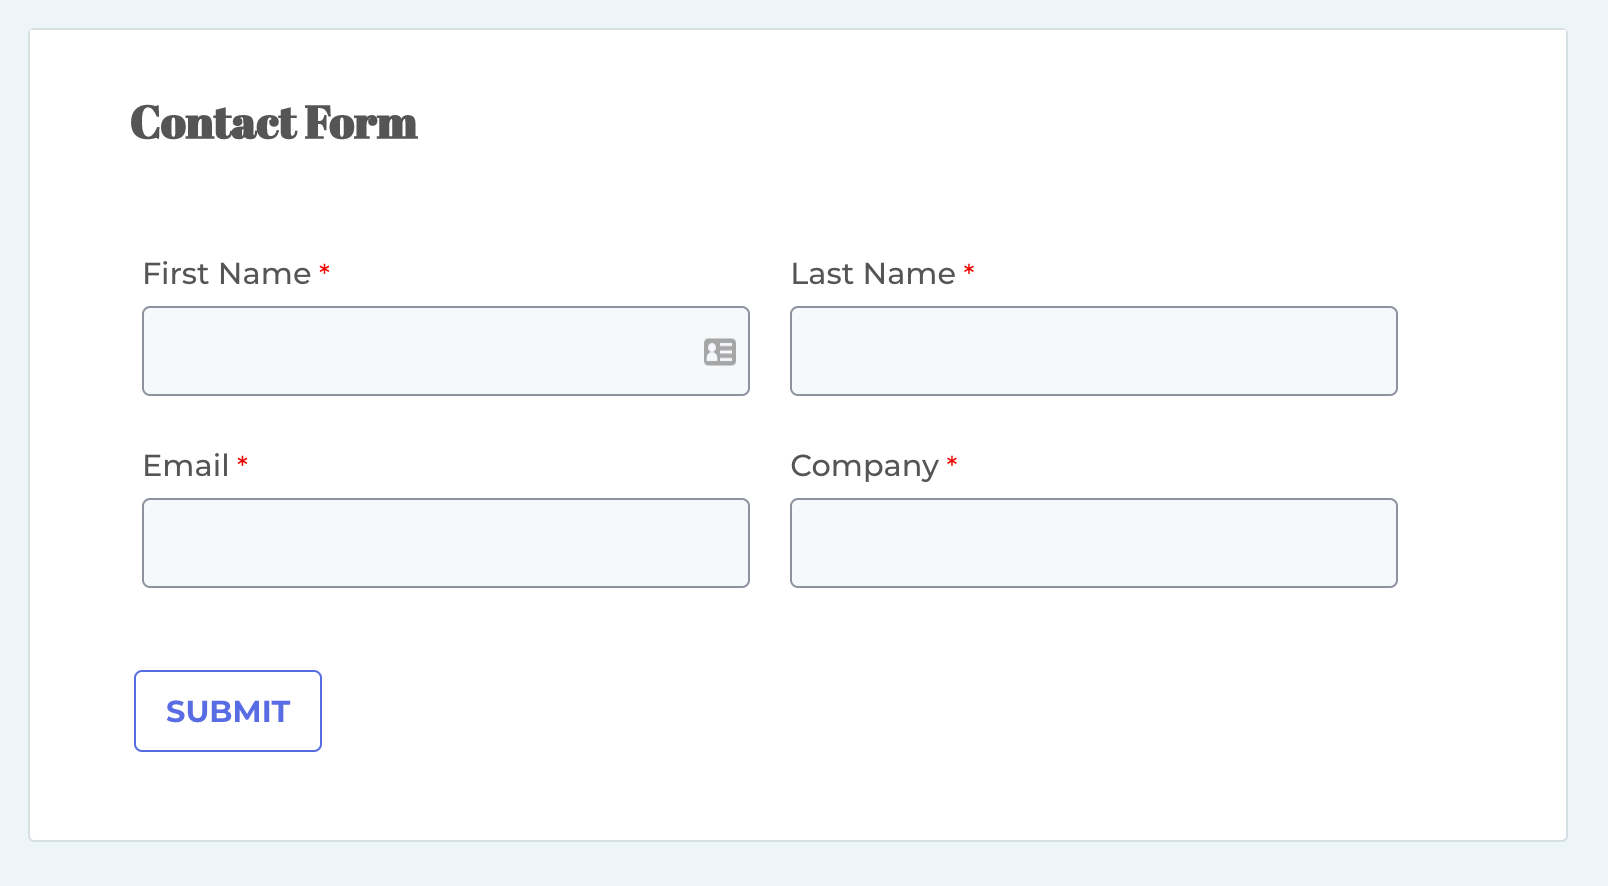
We left the body font the same, since Montserrat pairs nicely with the whimsical, serif style of Abril Fatface.
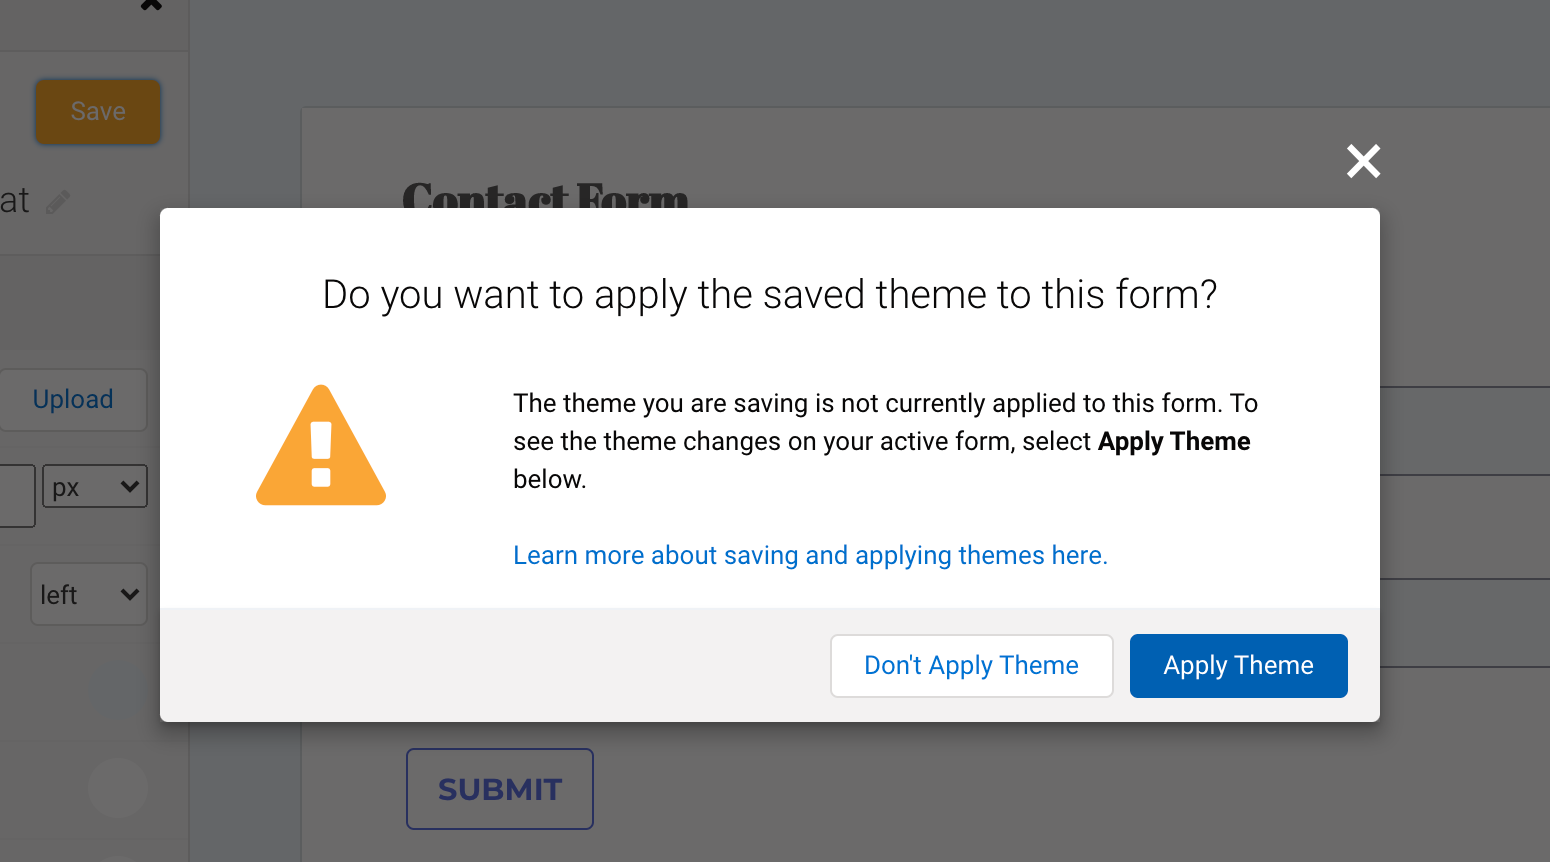
Make sure to save your customized theme after making any desired changes.
Here’s how those fonts look together in our updated form:
CSS allows you to do a lot of creative and useful things with your forms. Read up on other common custom code scenarios in our knowledge base and test drive FormAssembly for yourself here! It’s free for 14 days, no credit card required.
