
Content marketing is as popular a method as ever for gaining and nurturing potential customers, with upwards of 91% of businesses using it in their marketing mix. Different companies leverage different kinds of content marketing deliverables, but one with enduring popularity is the gated eBook or whitepaper. Designed to gather valuable prospect information in return for educational content, gated eBooks and whitepapers are great ways to entice website visitors to join your marketing funnel. But you can’t have gated content without gated content web forms and the right customizations.
This tutorial walks through two different methods for capturing website visitor information in exchange for marketing content. The first method uses only FormAssembly, and the second method leverages Pardot as well.
Want to follow along with this tutorial? Sign up for a trial today, no credit card required.
1. Use FormAssembly + Thank You Pages, Redirects, or Notifications
In this first method, we’ll discuss how to send your users content through FormAssembly.
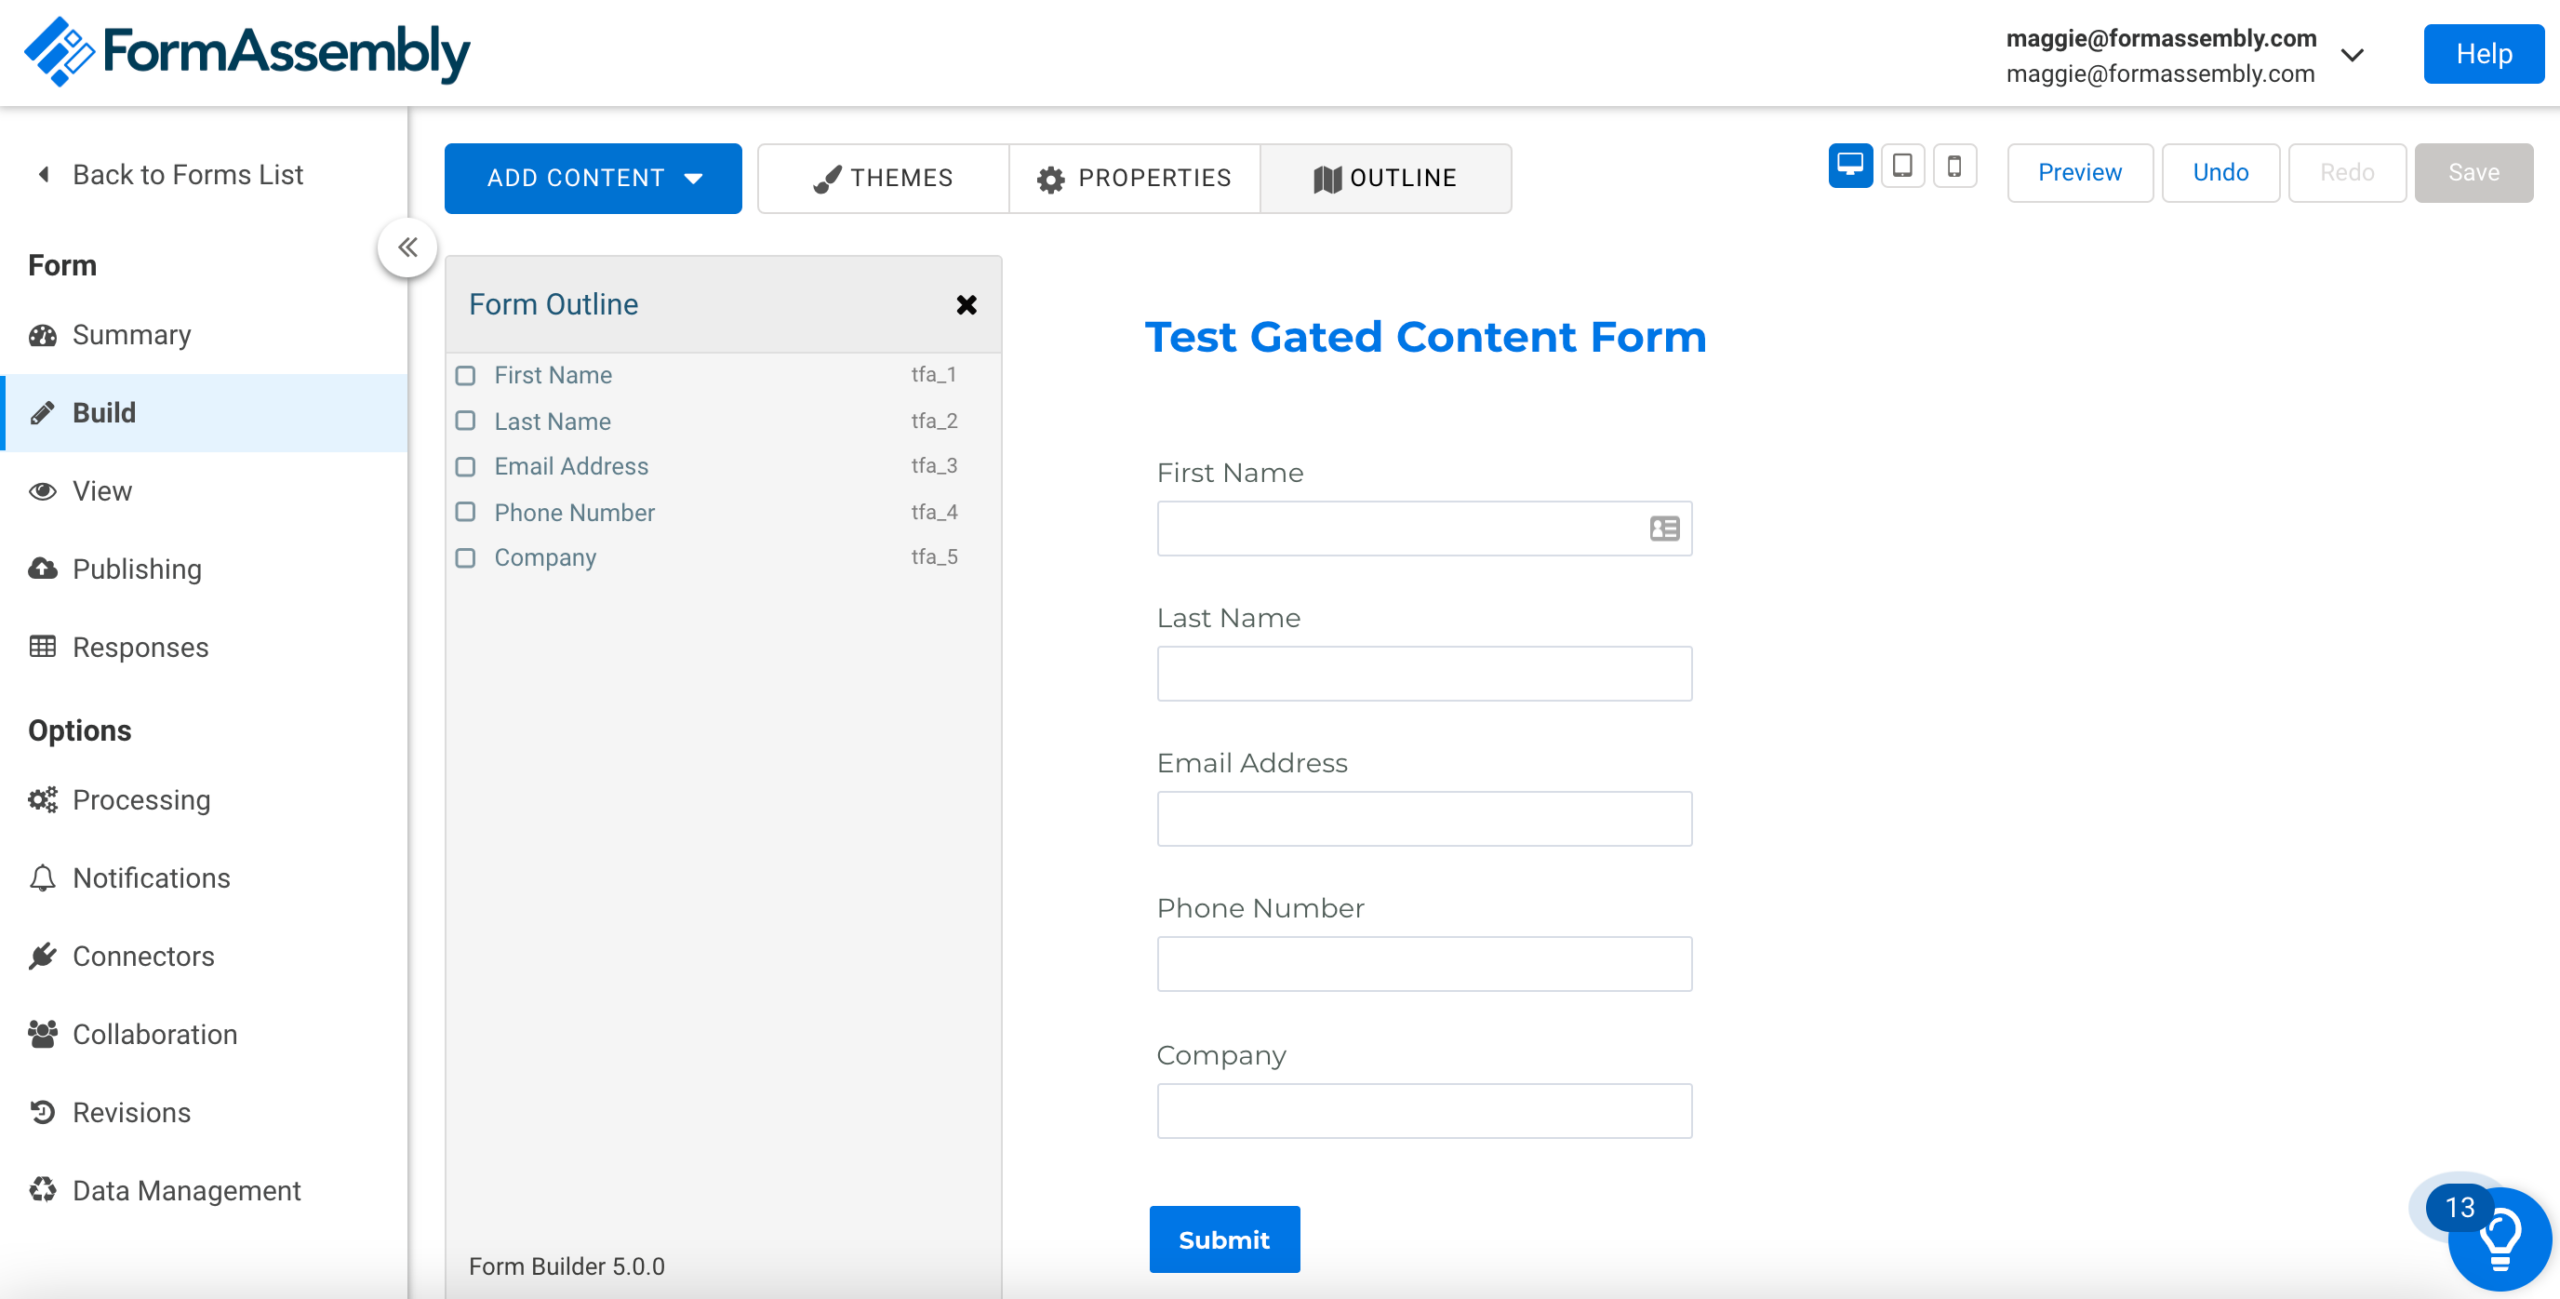
- Create the form you want to use. Gather all the information you’ll need to adequately market to your audience, but not so much that you deter them from filling out the form. On FormAssembly content download forms, we ask for first and last name, email, company, and phone number.
- Set up the thank you page, redirect, or autoresponder to deliver content. Depending on which method and user experience you prefer, you can deliver your content through three built-in methods in FormAssembly. We’ll walk through each one below.
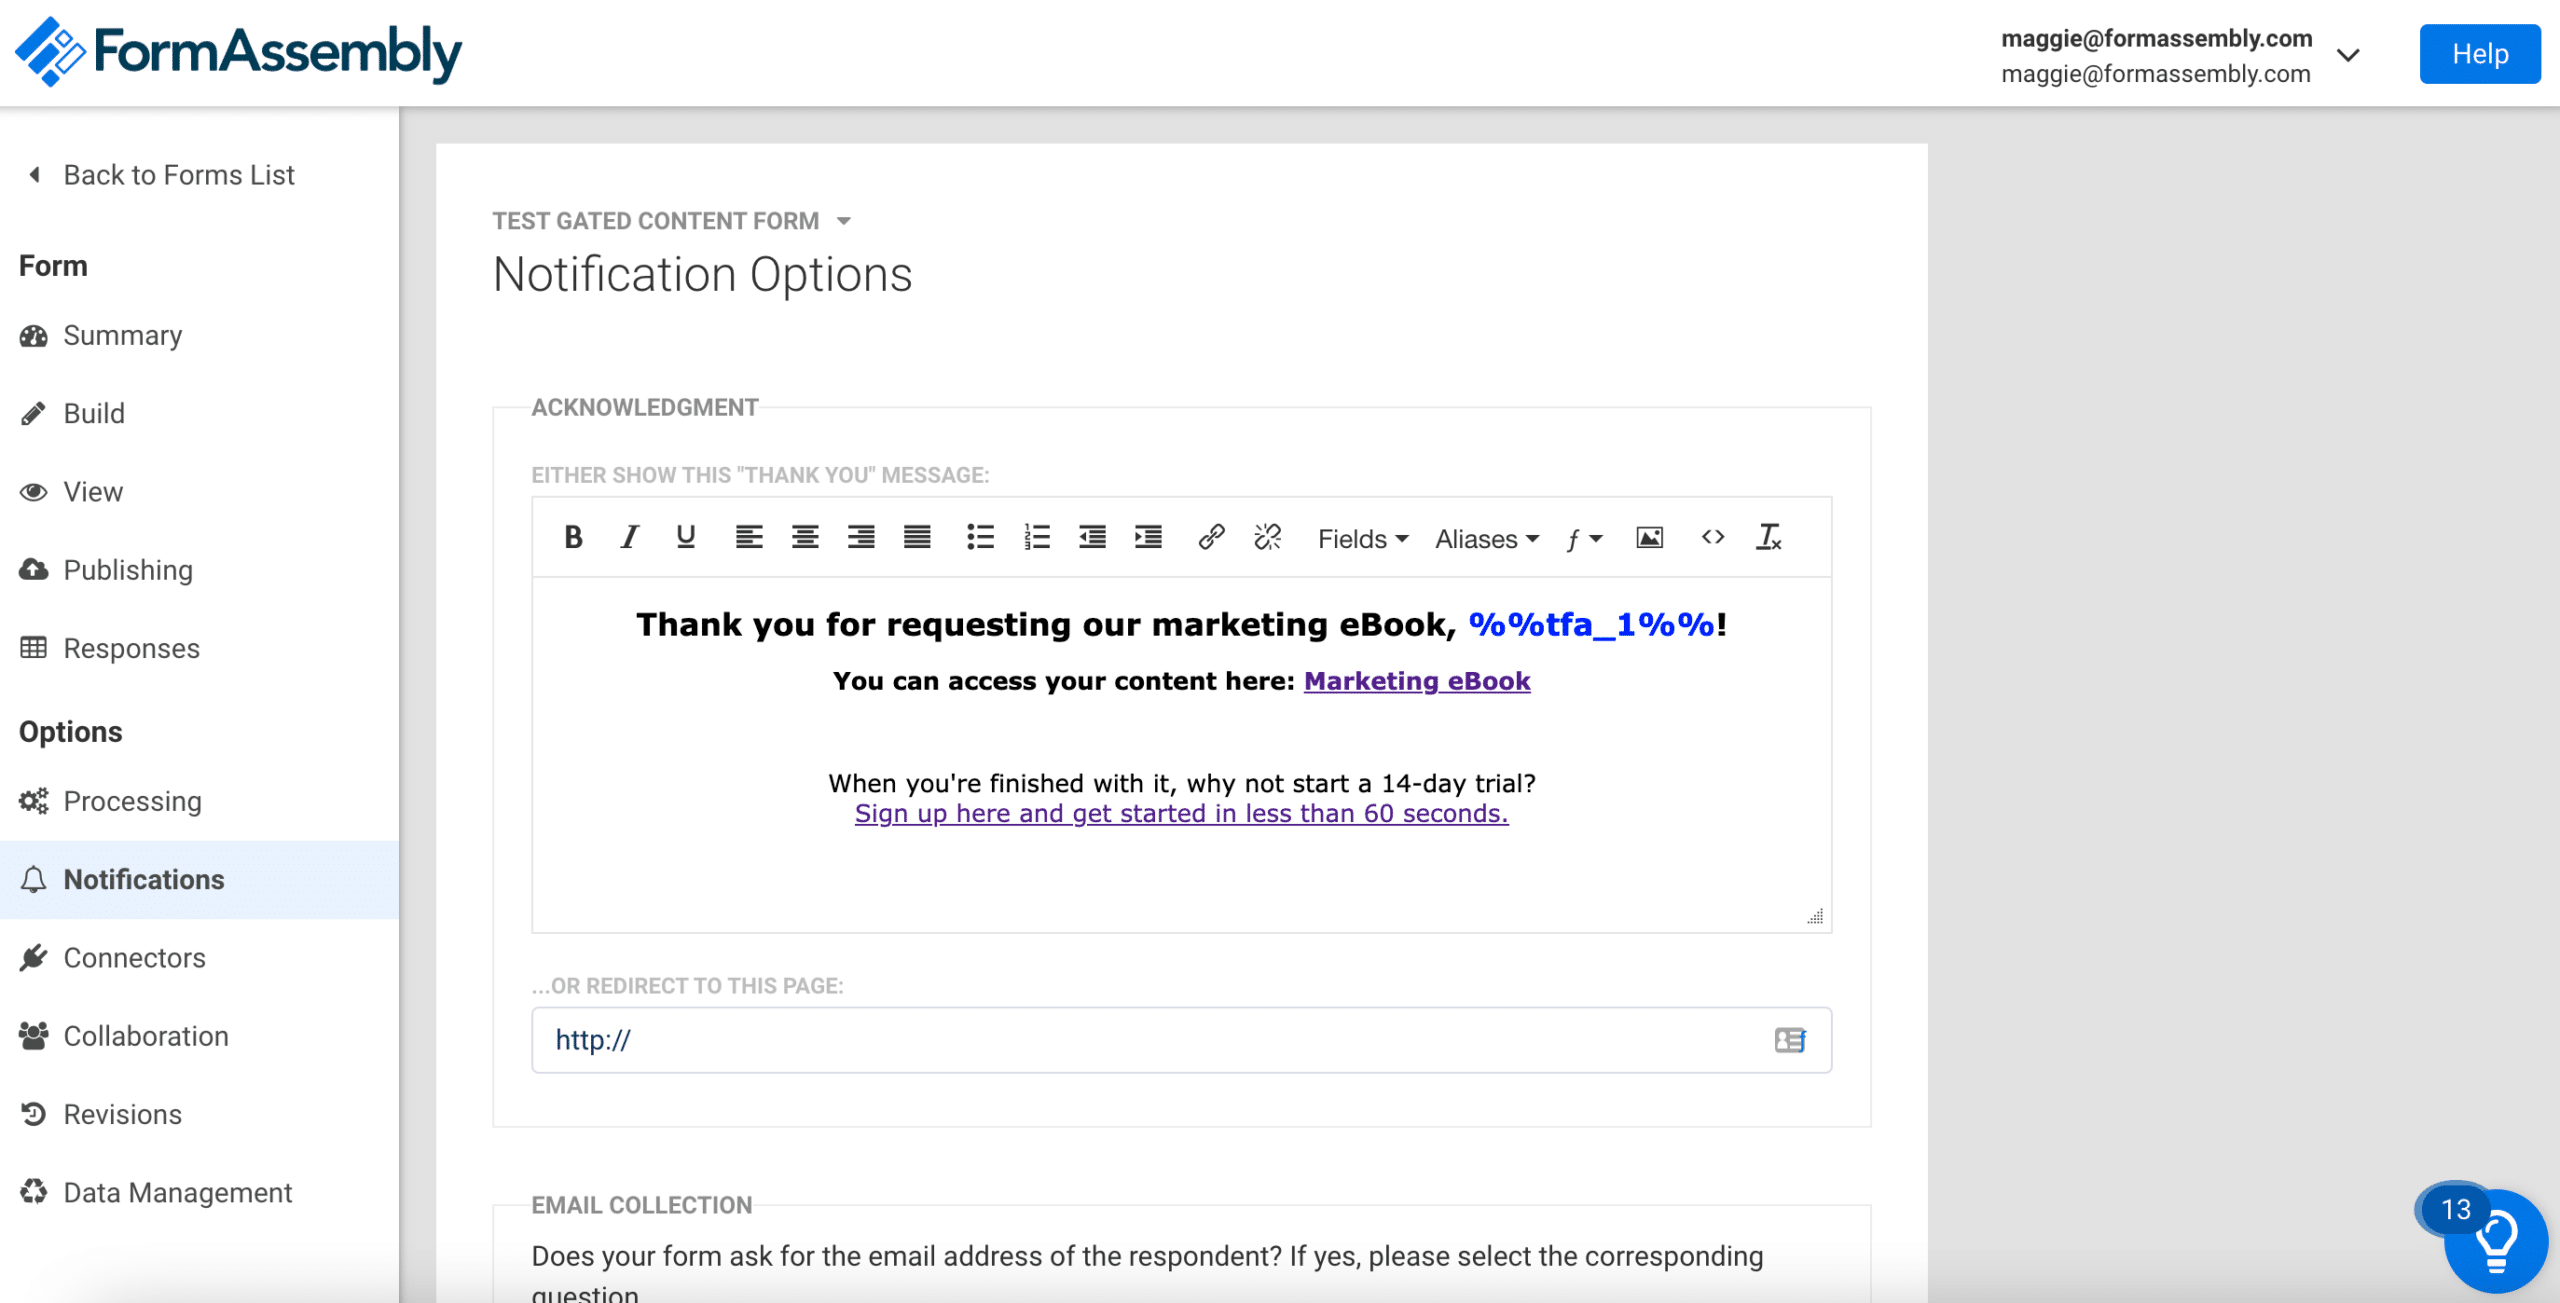
- Option 1: Set up the thank you page.
- On the thank you page, add some content about the eBook and include a link to a Pardot File or Redirect Link, a Brandfolder link, or another link from the content management platform you use to house your content.
- Option 1: Set up the thank you page.
-
- Option 2: Add a redirect
- On the notifications page, add a redirect URL that will take users directly to your content.
- Option 2: Add a redirect

-
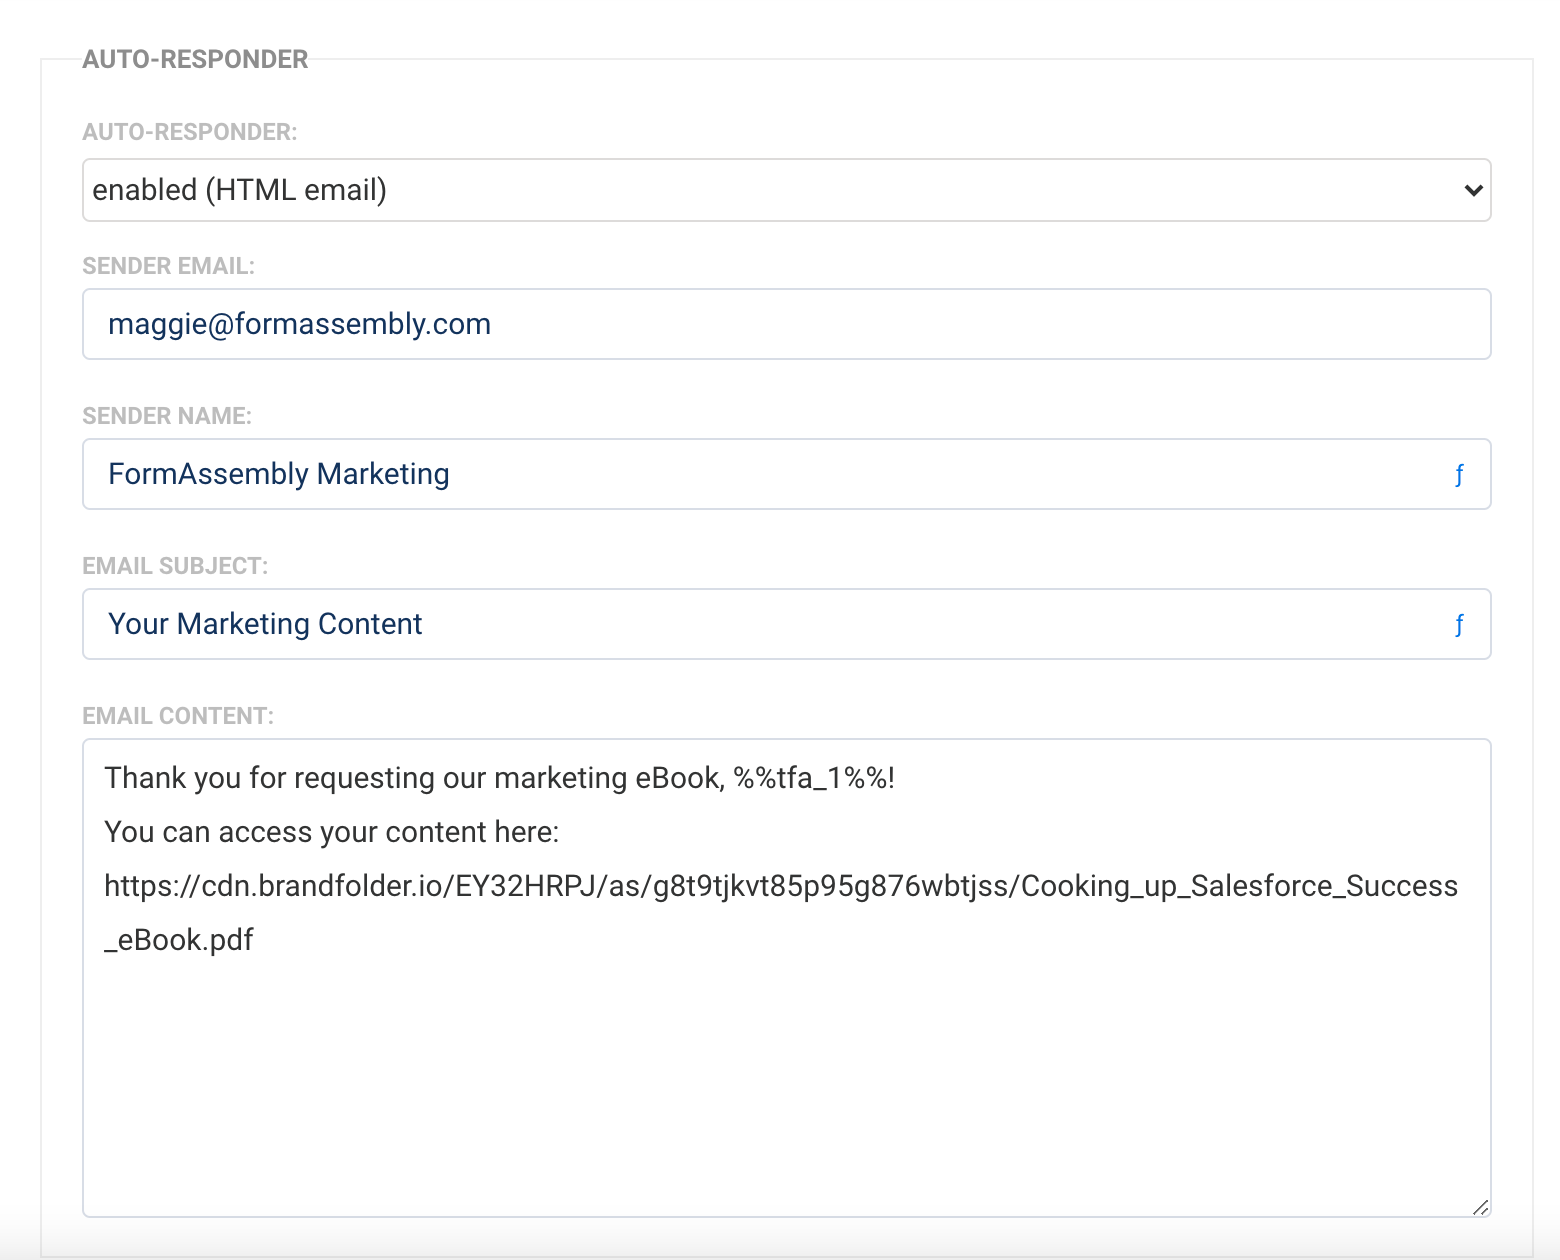
- Option 3: Form Email Autoresponder
- Also on the notifications page, add an email autoresponder that is sent to the recipient at the email they entered. It’s important that you change the Expected Input Format to Email in the Form Builder for the email field you want to use. Learn more.
- Option 3: Form Email Autoresponder
- Set up the Salesforce integration. Prospect information is the most useful when it’s connected with your CRM of choice. Once it’s there, you can notify salespeople so they can reach out and start their sales cadence, run reports on the data, and more. For a basic eBook download/lead generation form, you may want to set up a Salesforce connector that creates a new lead or updates an existing contact if one already exists. Follow the tutorial here to complete this part of the setup.
2. Use FormAssembly + Pardot
The second method will show you how to make gated content work through FormAssembly and Pardot. For this option, you’ll need to start with a created lead collection/gated content form. You can also set up the Salesforce integration on this form if you like.
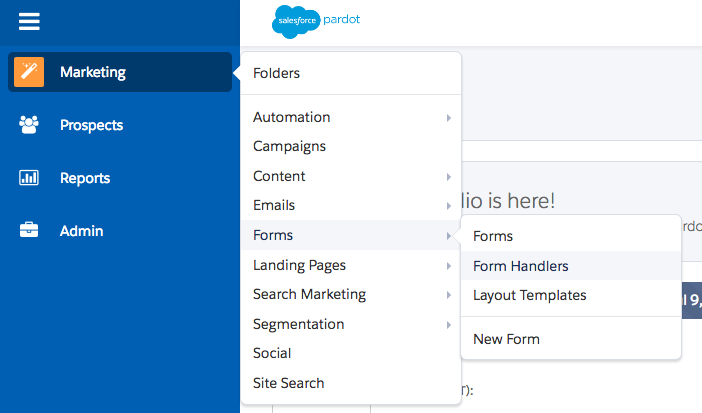
- Create the form handler. The first step will be to configure a Form Handler in Pardot to match up with your FormAssembly gated content form. You can follow the step-by-step instructions here, but at a high level this will require:
- Creating the Form Handler
- Customizing the Form Handler with tags, a campaign, and more. You’ll also want to “Enable data forwarding to the success location” for the integration to work correctly
- Mapping the fields in your FormAssembly form to your Form Handler
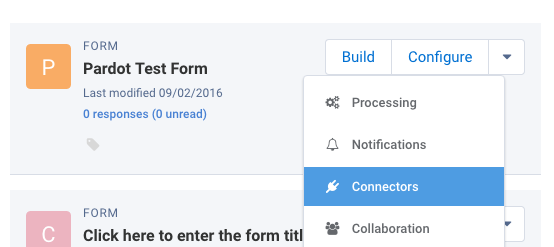
- Set up the Pardot integration. Once your form handler is created, you’ll need to connect your form with Pardot. You can follow the step-by-step instructions in our knowledge base to set that up.
- Set up a trigger to send the autoresponder. Once a form is configured to send responses to Pardot through the FormAssembly to Pardot integration, you can configure our content to be sent once the gate is passed. This will require setting up an autoresponder email in Pardot that will contain the content you want to send to the recipient of our FormAssembly form. We recommend following these step-by-step instructions to create the autoresponder.
Once you’re done, simply test your form and form handler process to make sure it works as intended!
Try out one or both of these methods to jumpstart your content marketing today.


